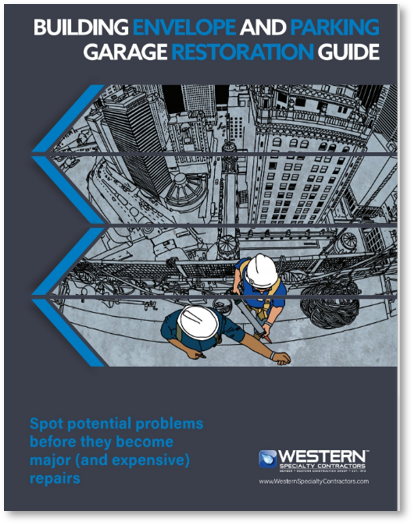
Editable Roofing Flyer
Customize it. Save it. Share it like a pro.
Need a polished flyer without starting from square one? This editable roofing flyer is built to make that easy. Update the fillable text fields, swap in the right images, add your branch or contact details, and you are good to go.
The design framework is already in place, so the goal is not to redesign it from scratch. The goal is to make it yours, keep it clean, and get it in front of customers quickly.
Quick heads-up: Always share a final PDF version with customers, not the editable working file.
What This Flyer Is Great For
A few places this piece really earns its keep
This flyer works especially well for:
- customer leave-behinds
- roofing sales meetings
- branch-specific handouts
- demo or mock-up promotions
- follow-up materials after a walkthrough
- trade show handouts
- emailed attachments after converting to PDF
Good fit: Use this when you need something more polished than a quick email, but faster than requesting a brand-new custom piece.
What You Can Customize
The fun part
The editable version includes fields for the main header, supporting text, body copy, section titles, bullets, contact information, and images.
Main headline
This is your big attention-grabber. Use it to clearly state the service, topic, or offer.
Supporting line
This line sits just below the headline and works well for a branch name, partner name, collaboration, or service context.
Intro paragraph
Use this space to explain what the flyer is about and why the reader should care. Keep it short, clear, and useful.
Three content sections
These are your organized message blocks. A strong formula would be:
- what it is
- how it works
- why it matters
Benefit bullets
These are perfect for quick wins, standout advantages, or simple takeaways. Short and punchy works best here.
Call-to-action
This section should tell the reader what to do next. Think schedule a meeting, request a demo, contact your branch, or ask for more information.
Contact block
Update this with the right person, email address, and phone number before sharing.
Images
Swap in photos that support the message. Project photos, close-ups, in-progress shots, and finished roofing visuals all work well when they match the copy.
Best practice: If a section starts turning into a paragraph marathon, trim it back. This flyer works best when it is easy to skim.
How to Edit It Without Fighting the Layout
A little strategy goes a long way
1) Start with your message
Before editing, decide what the flyer needs to do. Is it promoting a service, opening a conversation, supporting a meeting, or following up after one?
2) Write the headline last if needed
Sometimes the easiest way to land on a strong headline is to write the body copy first, then circle back and summarize it in one clear line.
3) Keep copy tight
This is not a brochure. It is a flyer. The strongest versions get to the point quickly.
4) Make each section do a job
Give every section a purpose. Do not let two sections say the same thing in slightly different ways.
5) Choose photos that match the message
The visuals should reinforce the content, not compete with it.
6) Double-check contact details
A polished flyer with the wrong phone number is still the wrong flyer.
Helpful rule: Clear beats clever. Every time.
Suggested Fill-In Game Plan
An easy way to build the content
Headline
Name the service, offer, or opportunity.
Supporting line
Add branch, partner, region, or additional context.
Intro paragraph
Explain the value in two to four short sentences.
Section 1
What the service or offer is.
Section 2
How it works, what it includes, or what the process looks like.
Section 3
Why it is useful, efficient, cost-conscious, or worth exploring.
Bullets
List three short advantages or takeaways.
Call-to-action
Tell the reader the next step.
Contact block
Add the correct employee or branch details.
PDF or It Did Not Happen
Please flatten before you share
This is the big one.
Once you finish editing the flyer, do not send the editable version to customers. Always create a final PDF version first. That gives them the polished finished piece instead of the working file.
Important: Sharing the editable file means the recipient may be able to click into the fields and change the content. Let’s not give the flyer a side quest.
How to print to PDF
- Open the completed editable flyer.
- Select Print.
- Choose Print to PDF, Microsoft Print to PDF, or another PDF printer option available on your computer.
- Save the file with a new name, such as Chicago Roofing Flyer – Final.pdf.
- Open the saved PDF.
- Click into the file and make sure the fields are no longer editable.
- Share that final PDF with your customer.
Another option
Some PDF programs let you export or save a flattened, non-editable PDF. That works too. Just reopen the file and test it before sending.
Toolkit Tip: If you can click into the final file and edit a field, it is not the version you want to send.
Before You Hit Send
Tiny checklist, big peace of mind
- all text has been updated
- all images are correct
- contact details are correct
- spacing still looks balanced
- the flyer has been printed or exported to a non-editable PDF
- the final PDF has been reopened and tested
Recommended Use Cases
A few easy wins
- introduce roofing services in a polished format
- support a customer conversation with something visual
- leave behind a quick summary after a meeting
- tailor a flyer to a branch, market, or opportunity
- send a professional one-page follow-up without building a custom piece from scratch
Need-to-Know Notes
The save-yourself-a-headache section
Do this: Save a working version for internal edits, then create a separate final PDF for sharing.
Not this: Edit the flyer, save over the original, and immediately email the editable file to a customer.
Smart move: Name your final file something obvious, like Branch Name – Roofing Flyer – Final.pdf.


